Vinyl Decal
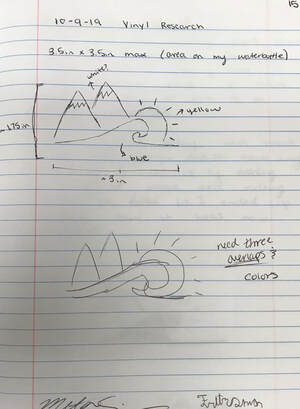
Vinyl Research
Creation in Illustrator
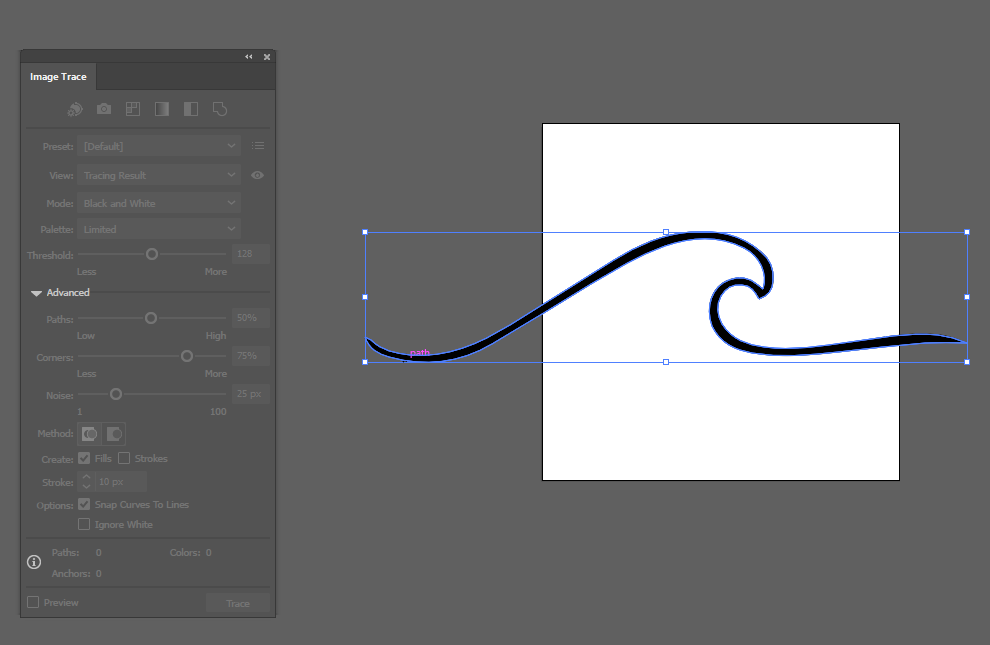
After creating a work space roughly the size of how large I wanted my vinyl decal to be, I used the image trace tool to create outlines on things like the wave image above.

The finished design in Illustrator.
|

I then used the pen tool to edit the shapes to my liking (ex. editing the outlines of the wave to make it 'filled in'.)
|
Cutting Out the Decal
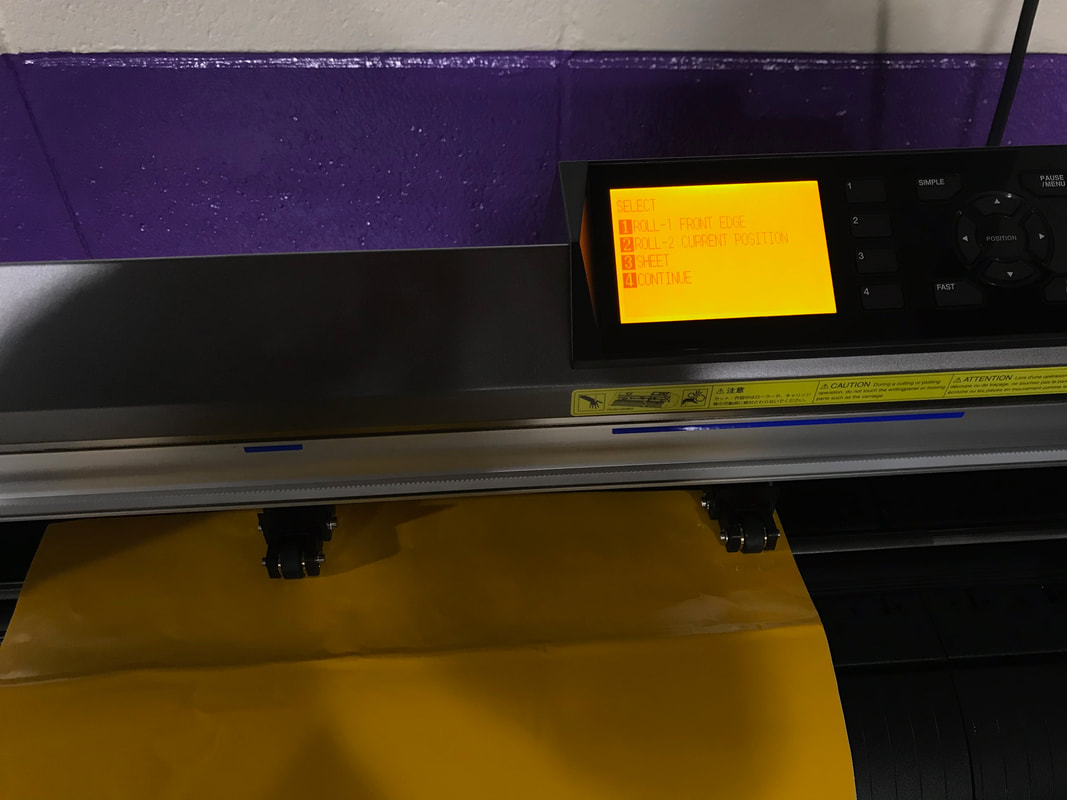
Turn the vinyl cutter on and place the sheet of vinyl into the machine. Make sure to select the correct setting whether you are using a sheet vs roll of vinyl.
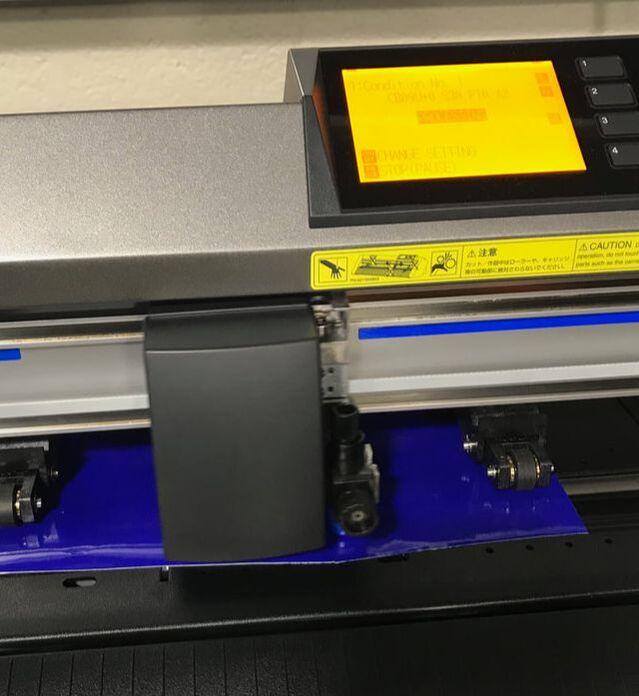
Once the cutter says ready, you can cut out your vinyl.
|
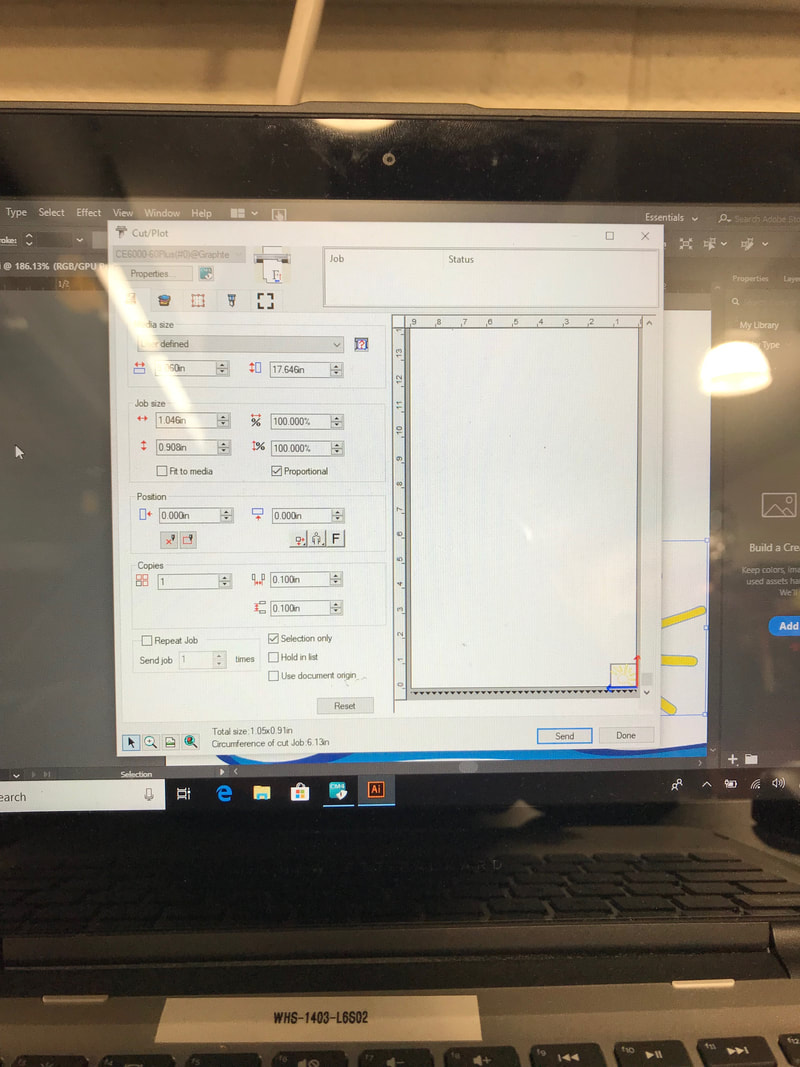
Then go to the computer and change the setting to ensure you are using the least vinyl possible and that what you are trying to cut will fit on the vinyl sheet.
|
Applying the Decal
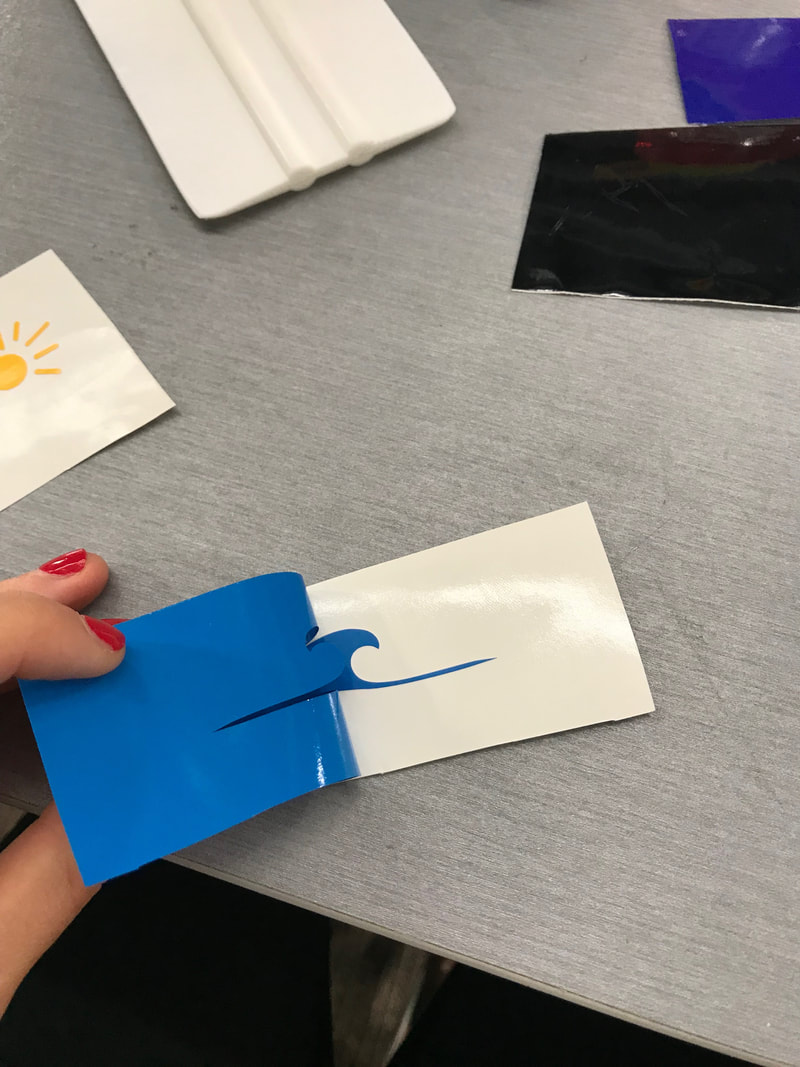
Remove any excess vinyl you don't want want to be on your decal.
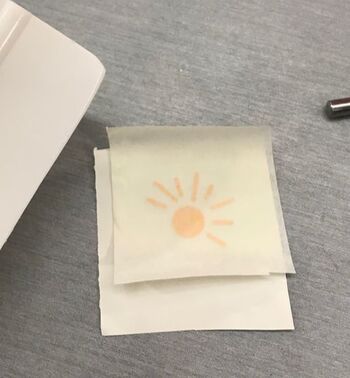
Remove decal and transfer tape from the decal's backing.
|
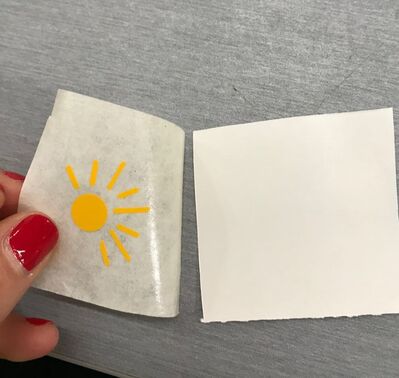
Finished the 'weeding' process.
Apply transfer tape to the weeded decal with a squeegee.
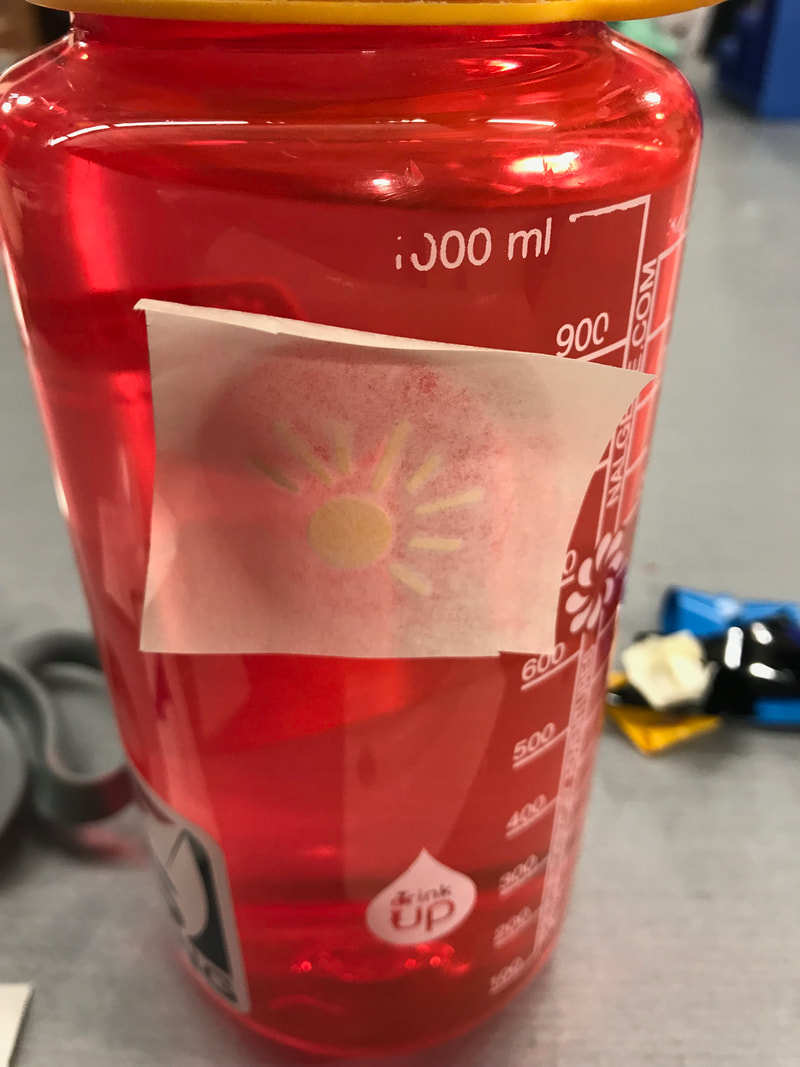
Apply decal to a surface and then remove the transfer tape.
|
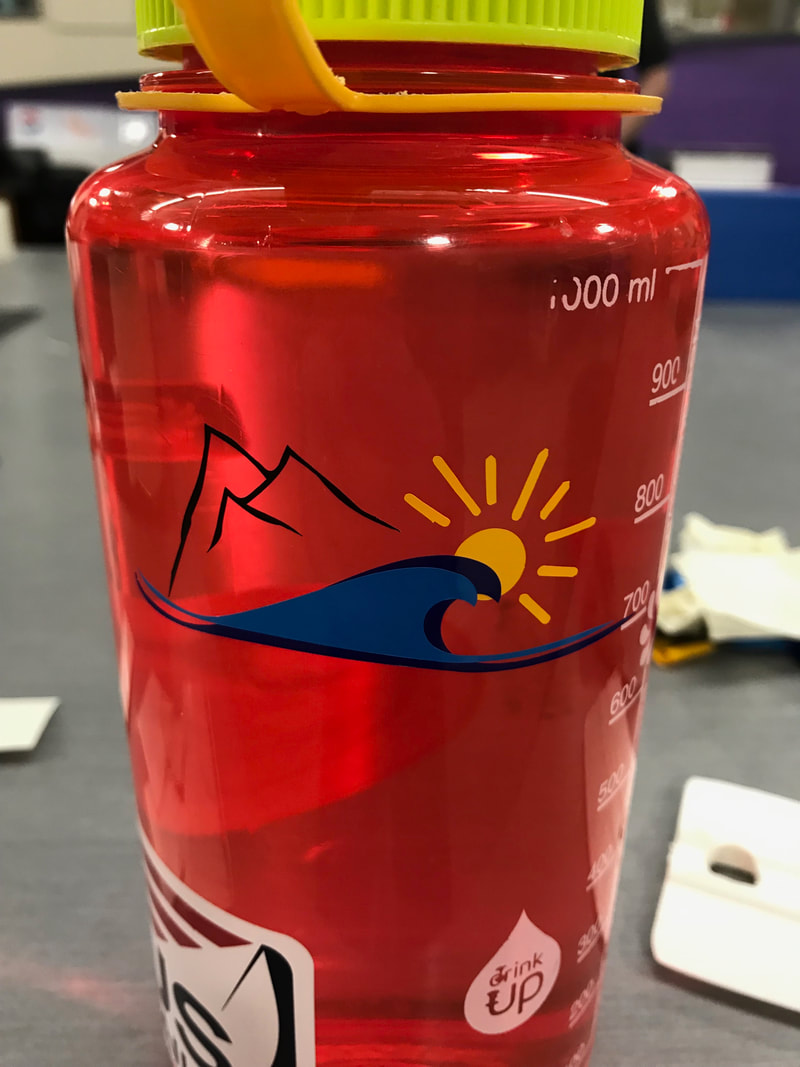
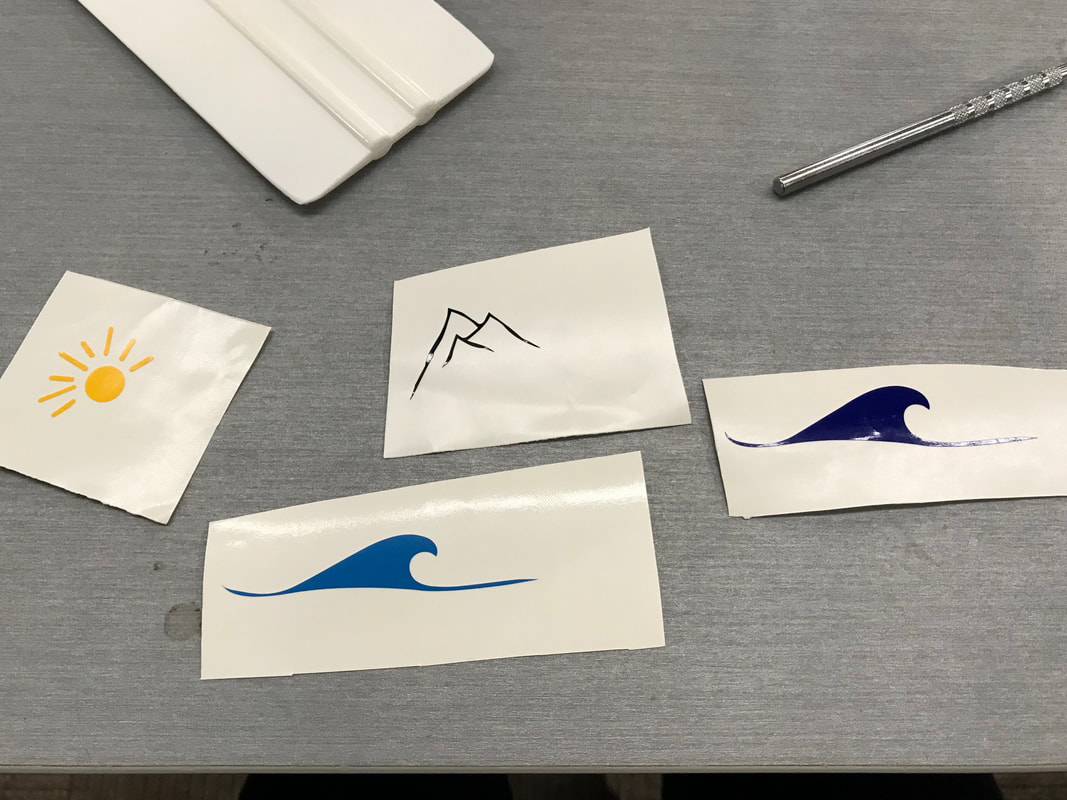
Finished decal.
What I Learned...
I learned how to use Illustrator in a more in depth way. I became much more comfortable with the vinyl cutter and how it works. This also helped me realize what designs work better with the vinyl cutter, It is also really important to be very exact when applying the decal. I ended up getting my decal slightly crooked because I wasn't careful enough.
